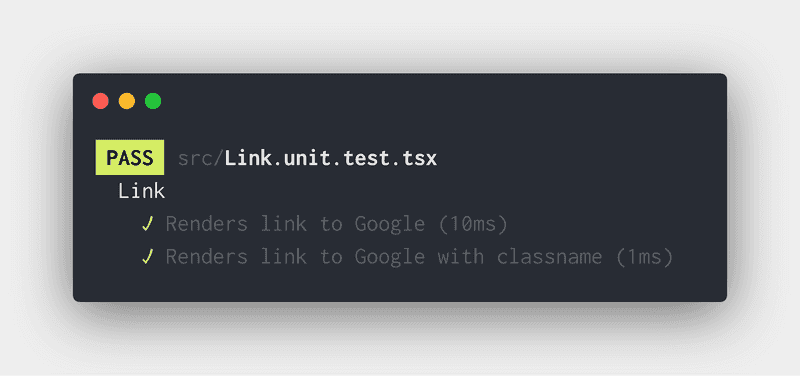
Configuring Jest and Enzyme in Create React App on Typescript
02 Apr 2019 • 4 min read
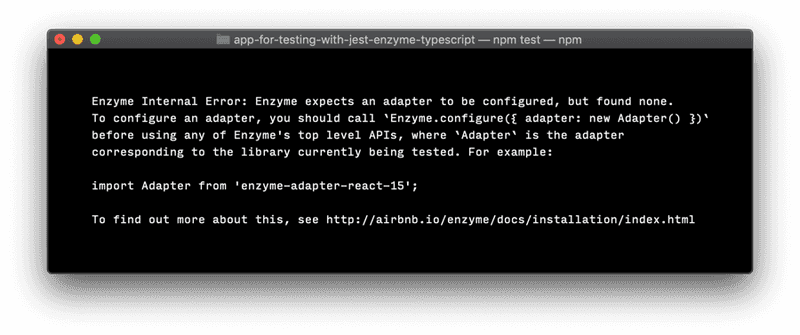
I was recently trying to get a Jest/Enzyme testing environment working with React (Create React App with Typescript) and all of the documentation I read couldn't help me fix this one error:

I finally figured out how to do it after reading a lot and trying out a handful of solutions. I'll be starting with a vanilla installation of CRA (with the Typescript flag set) as my starting point to illustrate how to get this working.
A Create React App Gotcha
Because I'm using Create React App, there are certain benefits that I get out of the box, and one of those benefits is Jest. According to the documentation, Create React App comes with:
A fast interactive unit test runner with built-in support for coverage reporting.
As part of this built-in test bundle, Create React App sets up some default paths for you, including ./src/setupTests.js as a path to test configuration. Because this path is setup for you, you'll run into conflicts if you try to rename the file or override the path elsewhere.
1. Setup Jest with Typescript
Now that we're aware of that gotcha, let's setup Jest with Typescript. These instructions come from a starting resource that I found on Github by Basarat. I'm including them for convenience.
First, install Jest types & TS-Jest:
yarn add @types/jest ts-jest -DNext add a jest.config.js to your project root (outside of src) and add the following within that file:
module.exports = {
  roots: ['<rootDir>/src'],
  transform: {
    '^.+\\.tsx?$': 'ts-jest',
  },
  testRegex: '(/__tests__/.*|(\\.|/)(test|spec))\\.tsx?$',
  moduleFileExtensions: ['ts', 'tsx', 'js', 'jsx', 'json', 'node'],
};
Basarat does a good job of explaining this code, but the main point to understand is that we're telling Jest to use ts-jestwhen it encounters typescript files.
2. Install Enzyme
Now that we have Jest configured, we need to install Enzyme-related dependencies:
yarn add enzyme @types/enzyme enzyme-to-json enzyme-adapter-react-16 -DAdditionally, we need to tell Jest to use our Enzyme serializer. Add the following line to the end of jest.config.js:
"snapshotSerializers": ["enzyme-to-json/serializer"],Other tutorials tell you to add "setupTestFrameworkScriptFile": "<rootDir>/src/setupEnzyme.ts" to your Jest config file. However, if you're on CRA, that gotcha we discussed earlier will ignore this line and will prevent Enzyme from working properly.
3. Configure Enzyme
Enzyme needs to be configured and instantiated for it to work properly. If it doesn't already exist, create the file setupTests.js in your src directory and add the following to it:
import {configure} from 'enzyme';
import * as Adapter from 'enzyme-adapter-react-16';

configure({adapter: new Adapter()});
4. Test!
Now that we've got Jest and Enzyme installed and configured, let's test! I've written a basic Link component that wraps <a>:
/*===================
  Link.tsx
 ===================*/

import React from 'react';

interface LinkProps {
  className?: string;
  href: string;
}

const Link: React.FC<LinkProps> = ({className, href, children}) => {
  return (
    <a href={href} className={className}>
      {children}
    </a>
  );
};

export default Link;
I've also written a basic test for that link component:
/*===================
  Link.unit.test.tsx
 ===================*/

import React from 'react';
import {shallow} from 'enzyme';
import Link from './Link';

describe('Link', () => {
  it('Renders link to Google', () => {
    const link = shallow(<Link href="http://google.com">Link to Google</Link>);
    expect(link).toMatchSnapshot();
  });

  it('Renders link to Google with classname', () => {
    const link = shallow(
      <Link href="http://google.com" className="my-link-class">
        Link to Google
      </Link>,
    );
    expect(link).toMatchSnapshot();
  });
});
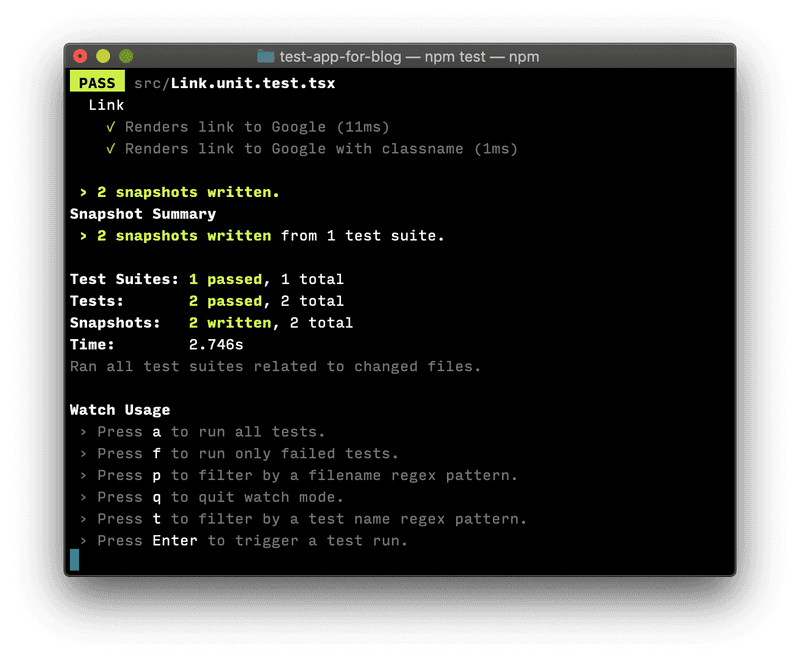
Once you've got that component and test created, run yarn test to see the following output:

If you see something simliar to that, you're in business. Happy testing!
Follow for the latest
Get my posts in your feed of choice. Opt-out any time.
Want to keep reading?
If you enjoyed this article, you might enjoy one of these: