How to make a super-fast static site with Gatsby, Typescript, and SASS
05 Sep 2018 • 6 min read
I was able to build a super-fast static site generated from a headless CMS using Gatsby. I liked it so much that I put together a starter repo. You can just jump to the starter repo, or you can read this article for a step-by-step approach, so that you know the ins and outs of what’s going on.
Disclaimer #1: I think you should probably read the Gatsby docs, because they’re pretty thorough. Be sure to check those out first–this specific article doesn’t cover any Gatsby basics.
Disclaimer #2: I’m using Gatsby version 2 in this tutorial. If you don’t want to use a beta version of Gatsby, I wouldn’t recommend following this specific tutorial.
Disclaimer #3: I’m going to use Yarn in this tutorial instead of NPM. I ran into issues using NPM when I deployed this to Netlify, but they were resolved by using Yarn. Either one will work just fine if you aren’t planning on deploying to Netlify.
1. Create a new Gatsby project
If you haven’t already, go ahead and install the Gatsby CLI and then whip up a new project:
gatsby new your-site-name https://github.com/gatsbyjs/gatsby-starter-hello-worldIf you poke around the site, you’ll notice that Gatsby has already given you the start of an app. Because I had both NPM and Yarn installed, it created both a package-lock.json file and a yarn.lock file — be sure to delete whichever one you don’t need. If you want to see the starting point that Gatsby has given you, run gatsby develop (or yarn start) and you should see something simliar to this:

2. Integrate the Gatsby SASS plugin
Gatsby has a bunch of plugins that hook into webpack behind the scenes, making it really easy to integrate them into your project. Install the Gatsby SASS plugin:
yarn add node-sass gatsby-plugin-sassWe have to add both node-sass and gatsby-plugin-sass because node-sass is a peer dependency of gatsby-plugin-sass.
Once you get that installed, create a file called gatsby-config.js at the root level of the project. As you probably guessed it, this file controls Gatsby-specific settings, including plugins. In gatsby-config.js , add the following:
module.exports = {
  plugins: [`gatsby-plugin-sass`],
};
This tells gatsby explicitly that we want to want to use the sass plugin we installed earlier.
In order to make sure that our newly-installed plugin is actually working, let’s change the markup of index.js in src/pages:
import React from 'react';
import * as styles from './Index.module.scss';

export default () => (
  <div className={styles.Container}>
    <h1>Hello world!</h1>
    <p>CSS preprocessors are pretty great.</p>
  </div>
);
Let’s also add an Index.module.scss file in that directory and style our page a little bit:
.Container {
  max-width: 60rem;
  margin: 3rem auto 0;
  font-family: sans-serif;

  h1 {
    color: #333;
  }

  p {
    color: #aaa;
  }
}
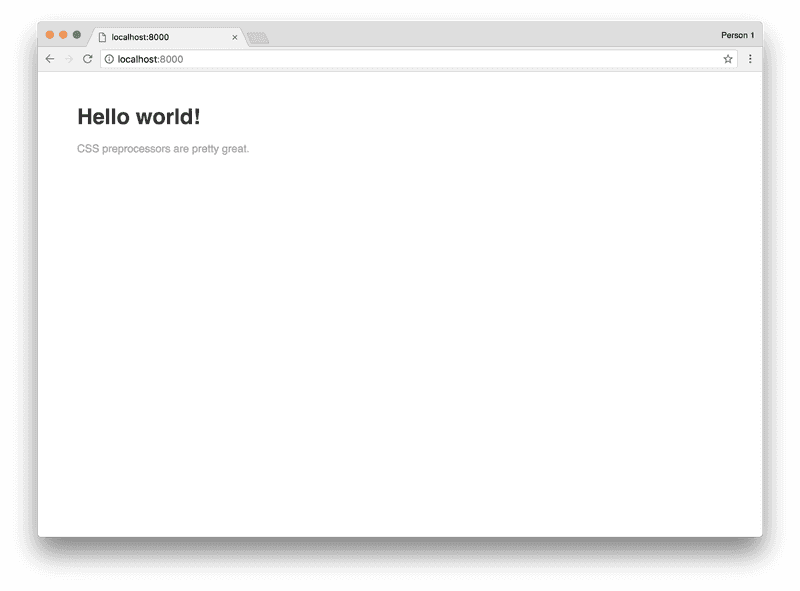
If everything went well, restart your server, and gatsby develop should show the following:

3. Integrate the Typescript Plugin
Now it’s time to add some typescript goodness on top of everything. To get started, first install typescript and the Gatsby typescript plugin:
yarn add typescript gatsby-plugin-typescriptBe sure to add the plugin to your gatsby-config.js file. We’re also going to add a site name and tagline to the config file. The final code looks like this:
module.exports = {
  siteMetadata: {
    name: `Hello Typescript World!`,
    tagline: `Gatsby + SASS + Typescript = 💪`,
  },
  plugins: [`gatsby-plugin-sass`, `gatsby-plugin-typescript`],
};
Now that the plugin is installed, let’s update our index file to use typescript instead of javascript. Rename the file to index.tsx and use the following code as a starting point:
import * as React from 'react';
import * as styles from './Index.module.scss';

interface IndexPageProps {}

export default class IndexPage extends React.Component<IndexPageProps, {}> {
  public render() {
    return (
      <div className={styles.Container}>
        <h1>Hello world!</h1>
        <p>CSS preprocessors are pretty great.</p>
      </div>
    );
  }
}
Now that we’re using Typescript, let’s bring in the site name and tagline using a graphQL query. GraphQL is an integral part of Gatsby, and it comes baked in out of the box (if you haven’t been exposed to graphQL yet, be sure to read up on it).
As part of the Gatsby build process, it automagically takes your config file and makes the gatsby-config exports available through graphQL queries. Here’s our first query, which will let us access the site’s name and tagline:
export const indexPageQuery = graphql`
  query IndexPageQuery {
    site {
      siteMetadata {
        name
        tagline
      }
    }
  }
`;
Because we’re using typescript, we also need to provide types for this data. Gatsby automatically takes our graphQL queries, runs them, and exposes all the data through an object called data. Let’s write an interface for our index page’s data:
interface IndexPageProps {
  data: {
    site: {
      siteMetadata: {
        name: string;
        tagline: string;
      };
    };
  };
}
Now that we’ve got data and the interface is written, let’s pull it all together. Here’s the final version of our index.tsx file:
import * as React from 'react';
import {graphql} from 'gatsby';
import * as styles from './Index.module.scss';

interface IndexPageProps {
  data: {
    site: {
      siteMetadata: {
        name: string;
        tagline: string;
      };
    };
  };
}

export const indexPageQuery = graphql`
  query IndexPageQuery {
    site {
      siteMetadata {
        name
        tagline
      }
    }
  }
`;

export default class IndexPage extends React.Component<IndexPageProps, {}> {
  public render() {
    const {name, tagline} = this.props.data.site.siteMetadata;

    return (
      <div className={styles.Container}>
        <h1>{name}</h1>
        <p>{tagline}</p>
      </div>
    );
  }
}
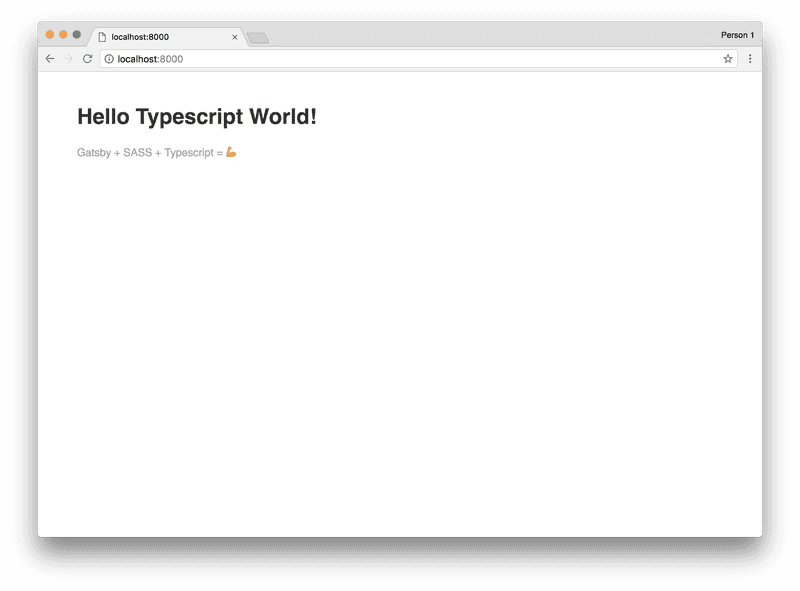
Restart the server aaaaaaand…🥁

It worked! 🎉

Bonus: Silence Typescript Warnings for .SCSS files
After going through all of these steps, you might see a warning associated with Index.module.scss:

If you’re having that problem, I decided to write about how to silence those (false) warnings.
Next Steps
One great thing about Gatsby is how easy it is to pull in content from other places. In my portfolio, I’m pulling in data from Contentful, a headless CMS with graphQL support. Want to know more about how to pull in data from Contentful? I decided to write all about it.
Update (11/6/2018):
I decided to add a typescript linter to the starter repo. If you want to know more, I wrote an article about it.
Update (11/27/2018):
I updated this article to reflect Gatsby exiting beta. Thanks Olivia for getting this on my radar! I also added a section about silencing Typescript warnings for .scss files.
Follow for the latest
Get my posts in your feed of choice. Opt-out any time.
Want to keep reading?
If you enjoyed this article, you might enjoy one of these: